Cursive Alphabet: Letter I Worksheet and Practice Methods
Cursive writing is a style of writing where letters are joined together. The letter “I” is one of the basic letters in cursive, and learning how to write it will help you with other letters too. It’s important to get the shapes and strokes right to make your writing neat and smooth.
You will get a free Cursive I worksheet, step-by-step writing tips, and clear examples for connecting H in full words. Let’s begin with the printable worksheet to support your practice from the start.
Download Free Printable Cursive I Worksheet
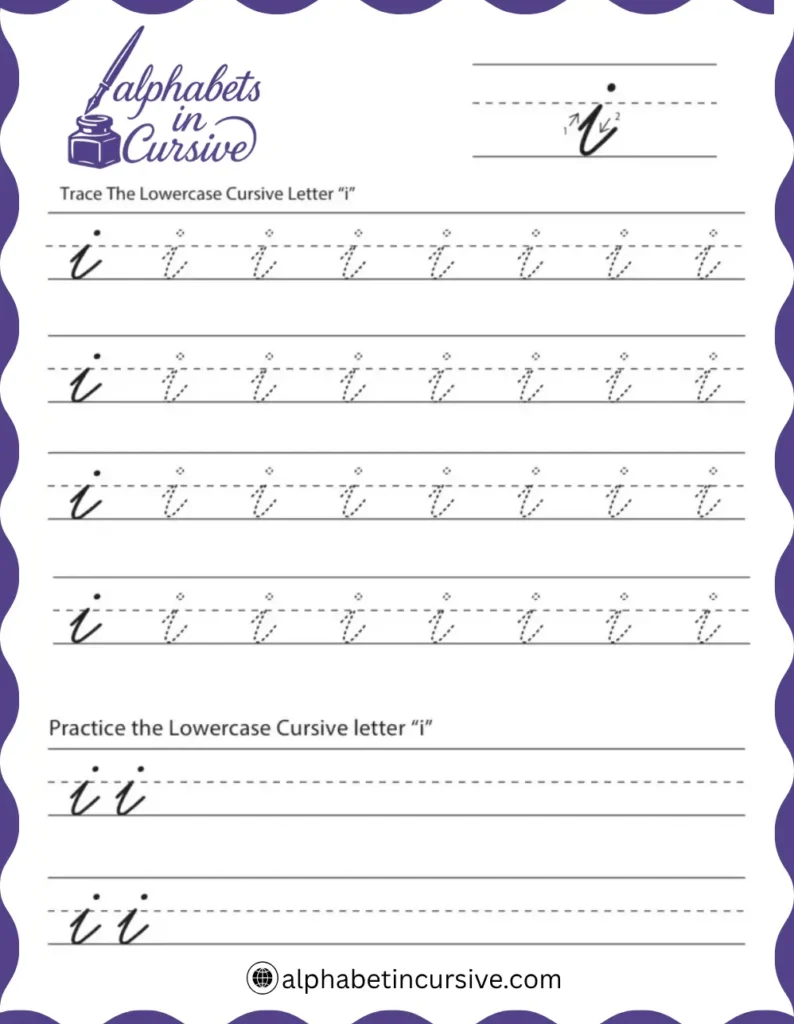
Alphabet in cursive provides free cursive I worksheet designed to help learners build muscle memory and master the flow of this letter. The worksheet includes guided tracing, dotted lines, and space for freehand practice.
Use the worksheet daily for short practice sessions. A few minutes a day builds accuracy faster than long, occasional writing sessions.


How to Write the Cursive Letter I
Writing the cursive I starts with learning two forms: lowercase and uppercase. Each has its own stroke style, but both follow a smooth, flowing motion.
The lowercase i is short and simple, with a curve and a small dot. The uppercase I is taller and loops from top to bottom. Understanding both forms helps with consistency and connection when writing full words.
Let’s begin by breaking down each form step by step.
How to Write Lowercase Cursive I
The lowercase cursive i is one of the easiest letters to learn. It starts with a small entry stroke, curves up slightly, and finishes with a quick lift of the pen. The dot above the letter is added last, placed directly over the stem.
This letter is common in many words, so learning its form early builds confidence and writing flow.
Steps to follow:
- Begin on the baseline with a short upward curve.
- Move straight up, then curve down gently to form a thin vertical stroke.
- End with a slight rightward tail to prepare for the next letter.
- Lift your pen and place a small dot above the midpoint of the stroke.
Practice slowly at first. Focus on spacing and keeping the height even with other lowercase letters.
How to Write Uppercase Cursive I
The uppercase cursive I stands tall and usually includes loops or curves, depending on the handwriting style. It often begins with a lead-in stroke, rises above the baseline, and finishes with a downward loop or smooth curve.
This letter is mostly used at the beginning of names, places, or sentences. Its shape should be clear and balanced to help it connect well with the next letter.
Steps to follow:
- Start with a light upward stroke from the baseline.
- Curve slightly left, then loop back over to the right and upward.
- Form a tall vertical line that loops down and ends with a rightward exit stroke.
- Keep the height consistent with other uppercase letters.
It’s helpful to practice this on lined paper to keep proportions even and the loops smooth
How to Connect Cursive I to Other Letters
Connecting the cursive I to other letters depends on its form. Lowercase i uses a short exit stroke that links easily to the next letter. Uppercase I, on the other hand, often ends with a long tail that leads into the following letter.
Understanding these connection points helps with writing smoothly and keeping your words readable. Let’s look at how both lowercase and uppercase I connect in different cases.
How to Connect Lowercase Cursive I
Lowercase cursive i connects from the right side of the letter using a short, curved tail. This tail blends into the starting point of the next letter without lifting your pen.
Because i is a mid-line letter with a straight shape, it pairs smoothly with many other lowercase letters. The key is to keep the spacing tight and the strokes light.
Connecting “i” to Different Letter Types
- To curved letters (like a, e, o): Flow the exit stroke into the bottom curve of the next letter.
- To tall letters (like l, t, b): Raise the exit stroke slightly to meet the base of the next loop.
- To short letters (like n, m, u): Keep the line smooth and low without sharp angles.
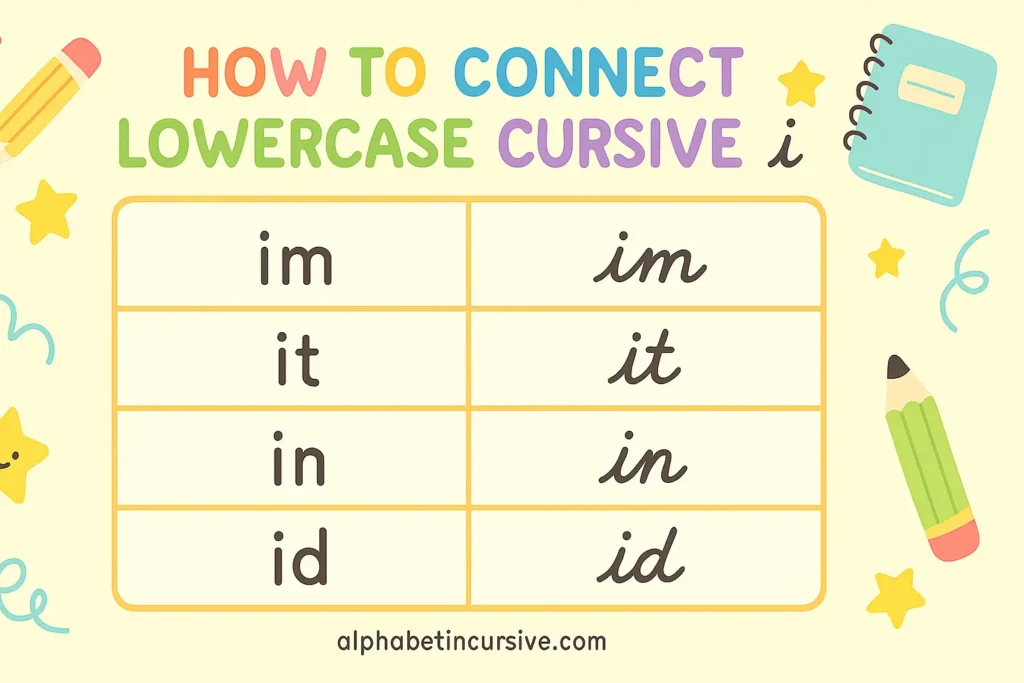
Common Letter Pairs
- in – Found in words like “ink” or “into”
- it – Used often in basic sentences
- im – Common in names and words like “image”
- id – Helpful for spelling patterns
Practicing these pairs helps improve both writing speed and accuracy.
How to Connect Uppercase Cursive I
Uppercase cursive I usually begins a word, so it doesn’t often connect from the left. But it does connect to the next letter. Its exit stroke should flow into the following lowercase letter without breaking the rhythm.
The shape and style of your I may change slightly depending on what letter comes next, but the goal is always smooth movement.
Connecting “I” to Different Letter Types
- To looped letters (like l, h): Extend the ending stroke slightly upward to flow into the loop.
- To round letters (like o, a): Keep the end of the I low and guide it into the curve.
- To sharp letters (like t, k): Use a small curve to lead the stroke into a clean angle.
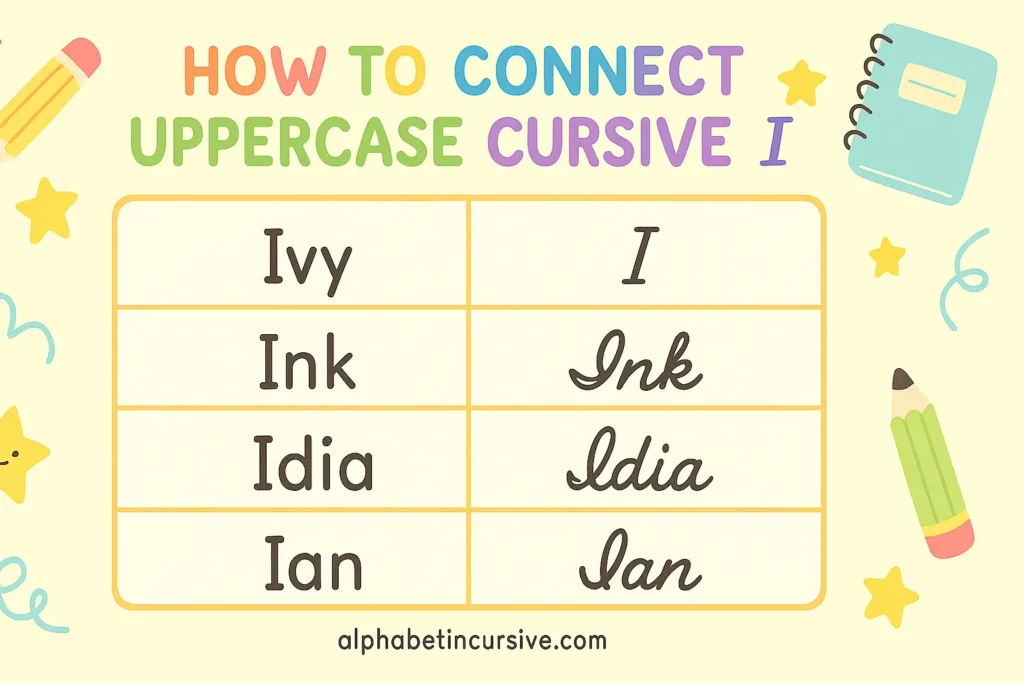
Example Words and Names
- Ian – A short name with simple connections
- Ivy – Combines curved and pointed strokes
- Ink – Shows how I leads into a tall and narrow letter
- Idea – A good mix of straight and round shapes
Writing these out several times can help your hand adjust to changes in spacing and style. Also check free joining letters worksheets here.
Practice Methods for Writing Cursive I
The best way to learn cursive I is through steady practice. Start with guided sheets, then shift to writing on plain lines without tracing. Use both uppercase and lowercase in short words to train your hand to connect letters smoothly.
Here are a few useful methods:
- Tracing Worksheets: Start by tracing the cursive I repeatedly to get familiar with the strokes.
- Freehand Practice: Move to writing without guides, focusing on shape and spacing.
- Word Repetition: Write full words like ink, into, Ivy, or Idea to practice connections.
- Sentence Writing: Use basic sentences like “I am in it” to build rhythm and control.
Set aside five to ten minutes daily for writing drills. Short, regular practice builds stronger results than long sessions done once in a while.
Frequently Asked Questions
What’s the difference between print and cursive I?
Print I is written with straight lines and no connections. Cursive I includes curves or loops and connects to other letters in a flowing style.
Do all cursive I styles look the same?
No. Some cursive I styles have more loops, while others are more basic. The style may change depending on the handwriting method or school standard.
When should kids start learning cursive I?
Kids can begin around age 7 or when they’ve learned print letters and have good control of a pencil. Starting with easy letters like i builds confidence.
Why is the dot on lowercase cursive I added separately?
The dot is placed after writing the main stroke to keep the writing flow smooth. It’s added with a small, quick tap above the letter.
One Comment