Cursive Alphabet: Letter K Worksheet and Practice Methods
The cursive letter K has a unique shape. It doesn’t follow the flow of many other letters, which makes it a little harder to master at first. The uppercase and lowercase forms look very different from their printed versions, especially the uppercase.
Learning to write cursive K helps build better pen control and improves how cursive words flow when writing by hand. It’s used often in names and words like “keep,” “kite,” and “kind,” so it’s a useful letter to get right early on.
Let’s begin with a printable worksheet made to help you practice the right way.
Download Free Printable Cursive K Worksheet
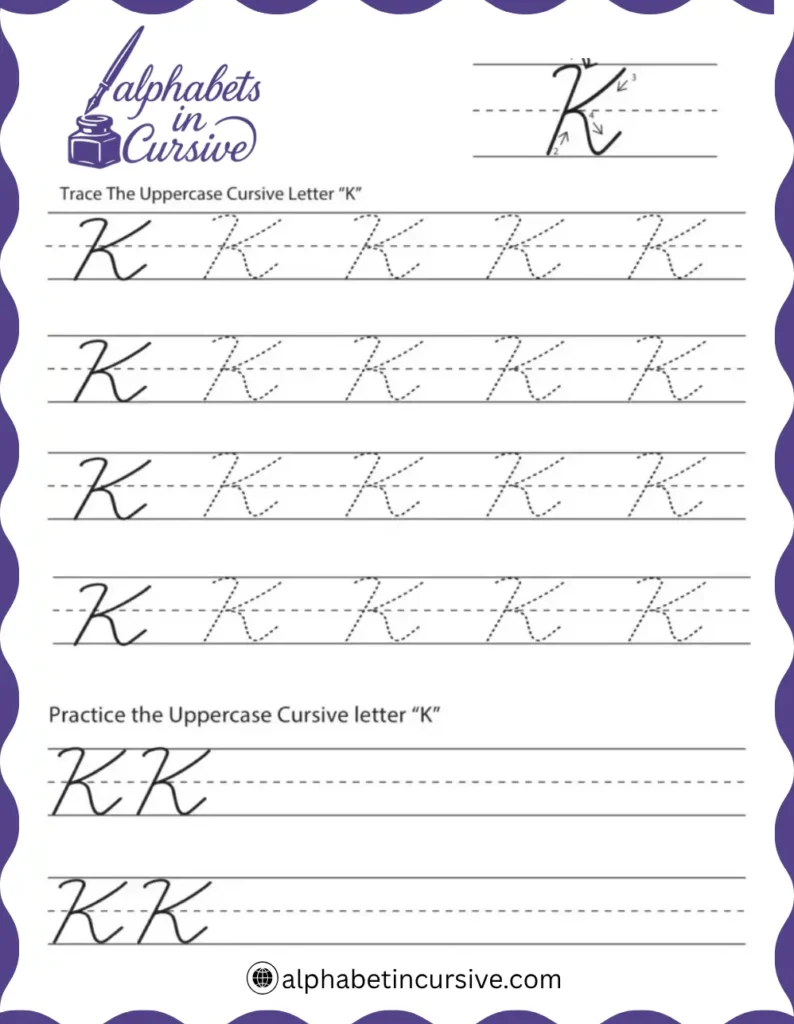
To learn cursive K the right way, you need space to trace, copy, and repeat. This printable worksheet gives you all three. It shows how to shape both uppercase and lowercase K with guided lines and open practice rows.

How to Write the Cursive Letter K
The cursive letter K has a tall, upright shape with a sharp bend in the middle. While lowercase k follows a simple line and loop, uppercase K is more detailed and often looks different from print. Both forms start with a long upward stroke and need careful motion to stay neat.
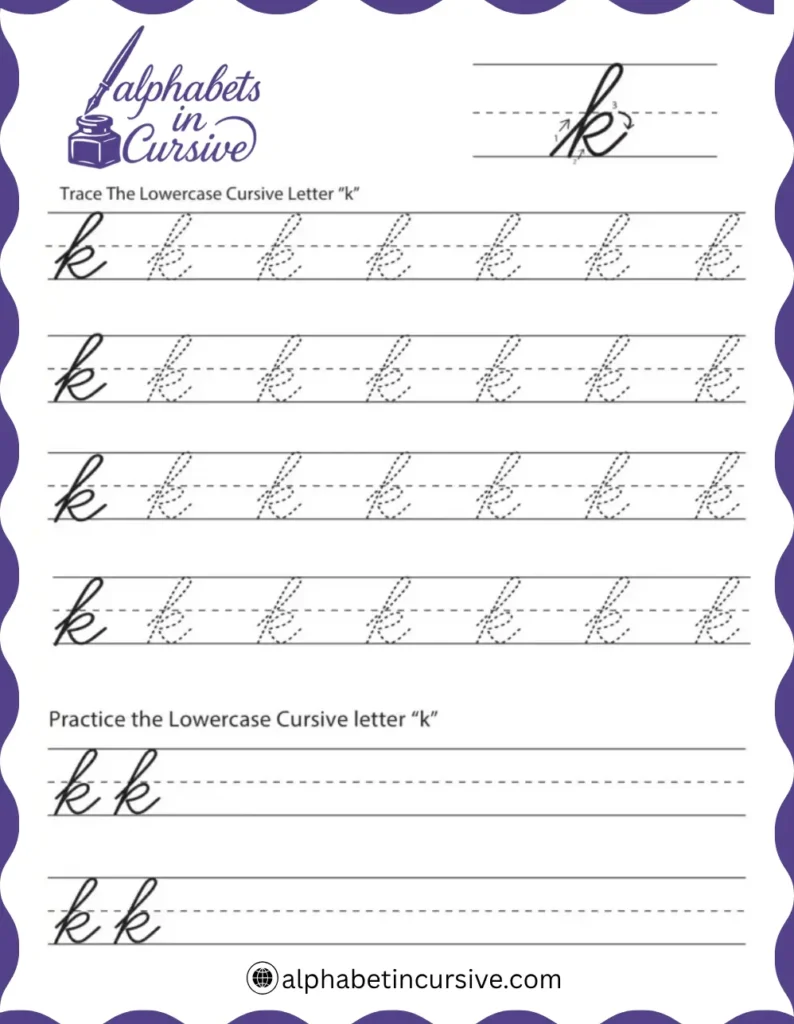
How to Write Lowercase Cursive K
Lowercase cursive k begins with the same motion as l or h. The tricky part comes at the midline, where you loop out and hook back in. It’s not one smooth curve — it has a twist in the middle that gives it shape.
Step-by-step:
- Start at the bottom line
- Move your pencil up in a tall loop to the top line
- Pull straight down to the bottom line
- Without lifting, bring your line back up to the middle
- At the midline, curve out to the right and hook back in like a small arm
- Finish with a short exit stroke, ready to connect
Common mistake:
Don’t flatten the arm if it’s too wide, the k won’t look clear. Keep the middle curve tight and sharp.
How to Write Uppercase Cursive K
Uppercase K starts with a large loop like a cursive L. After that, the second part is done separately it creates a slanted, two-part arm that meets near the middle.
Step-by-step:
- Begin just above the baseline
- Loop up to the top line and curve around, like starting a cursive L
- Curve down the left side and stop at the baseline
- Lift your pencil
- Start at the middle of the downstroke
- Swing a small stroke up and right to the top-middle
- Then draw a slanted line down and back to the baseline, meeting the first stroke
Helpful tip:
It’s like building two parts: a tall loop and a bent arm. The arm crosses through the middle and finishes strong.
Both forms of K use tall strokes and middle turns. They take more control than round letters. But with practice, they become more natural.
How to Connect Cursive K to Other Letters
Cursive K has a tall structure and sharp turns, which means connecting it takes a little extra care. Lowercase k ends with a right stroke that makes linking easy. Uppercase K, however, often stands alone especially in names.
How to Connect Lowercase Cursive K
Lowercase k finishes with a soft exit stroke that curves right and slightly up. That final line becomes the bridge to the next letter.
Connecting “k” to Different Letter Types
- To short letters like a, e, or o: the ending stroke moves directly into the curve of the next letter
- To tall letters like l or t: make sure the upstroke rises enough to begin the tall letter at the right height
- To loop letters like h or f: keep your k exit stroke short and angled to match the incoming loop
Important: Don’t over-stretch the arm of the k — keep the spacing tight for neat words.
Common Letter Pairs
Try these practice pairs for control and spacing:
- ka – the curve flows right into a’s round top
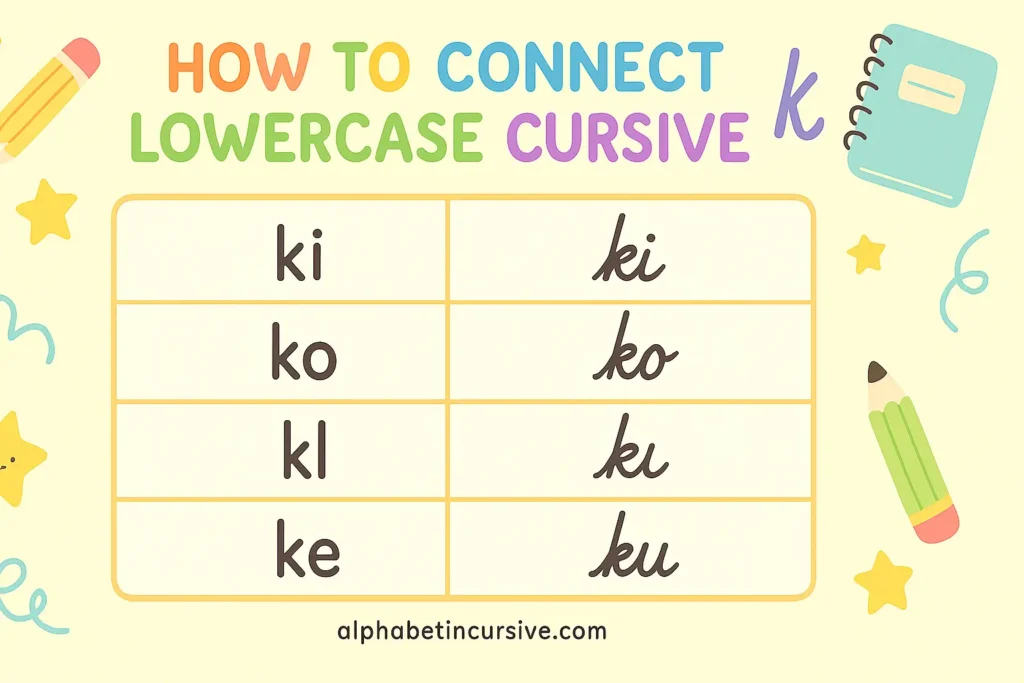
- ke – make sure the arm of k stays narrow
- ki – a clean link into i keeps the dot clear
- ko – lift the tail just enough to slide into o
- kl – watch height as you curve into the tall l
- ku – finish k smoothly before dipping into u
How to Connect Uppercase Cursive K
Uppercase K usually begins a name or word. It’s larger and shaped with two parts, and many people lift their pencil after writing it. This makes it one of the few cursive letters that often stands alone.
Connecting “K” to Different Letter Types
- To round letters like a or o: connect only if your final arm ends close to the midline
- To small letters like i or e: keep the finish stroke light and sharp
- To tall letters like t or l: you may prefer to lift and restart, as the arm of K doesn’t always align neatly
Example Words and Names
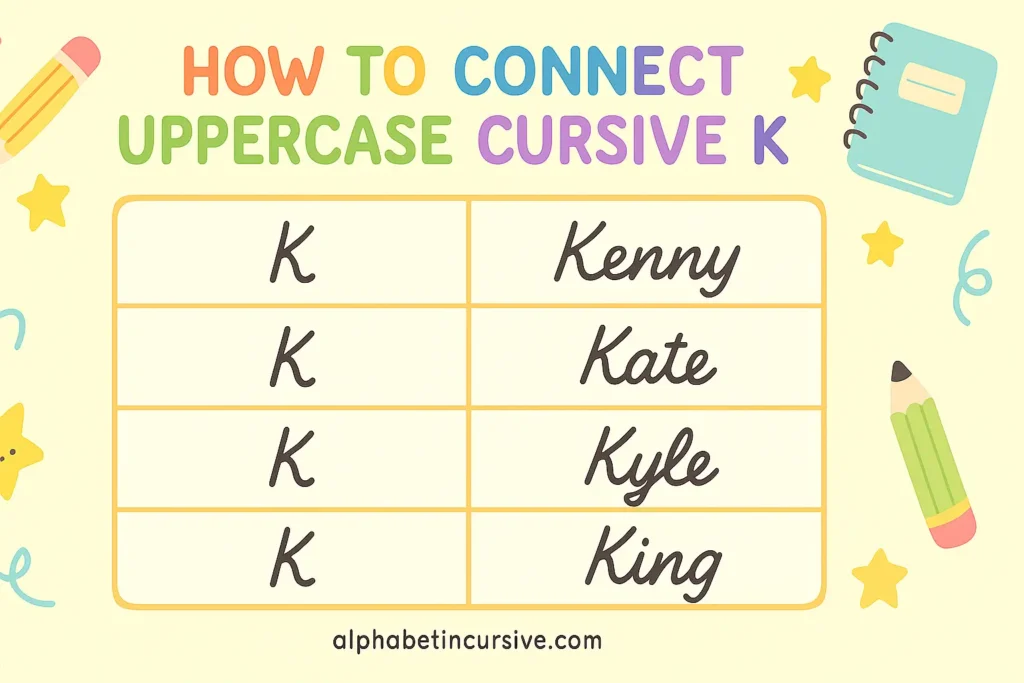
- Kate – K often stands alone; the a starts just beside it
- Kenny – the k flows softly into e when connected
- Kyle – use a short lift or direct connection depending on your style
- King – try both styles and circle the one that looks clearer
Practice Methods for Writing Cursive K
Cursive K takes patience. It has more turns than simple letters, and both uppercase and lowercase versions need control. These practice methods will help you build steady strokes, better shape, and smoother connections.
1. Trace with Guides First
Start by tracing both forms of cursive K on dotted letters. This builds rhythm and muscle memory. Focus on how the strokes rise, turn, and drop. Repeat each one slowly.
Tip: Say the steps out loud as you trace: “Up, down, arm out.” This helps you remember how the shape moves.
2. Use Dotted Outlines Without Arrows
Next, try dotted outlines that don’t show step numbers. This makes your brain guide the motion. Write the same letter five times in a row. Compare your strokes. Choose the best one.
3. Write on Blank Lines
Once you know the stroke pattern, move to open lines. Write one line of lowercase k, then one of uppercase K. Don’t rush. Keep the size and slant even. If the arm or loop is off, go back to tracing.
Challenge: Try writing full words like “kite” or “Katy” without lifting your pencil.
4. Break the Letter into Parts
If uppercase K feels too tricky, break it down. Practice the big loop on the left first. Then just draw the arm. Once you’re comfortable, put both pieces together.
Try this: Write ten letter Ks by doing each part separately before combining. You’ll feel the motion improve.
These practice steps work best when done a little each day. You don’t need to finish everything in one sitting. Just give your hand and eyes time to adjust. After one week, your K should feel more natural and smooth.
Frequently Asked Questions
How do I write a lowercase cursive k correctly?
Start with a tall loop going up to the top line, then pull it straight down. At the midline, swing out a small arm that bends back in. Keep the arm sharp and not too wide.
Does uppercase cursive K always connect?
Not always. Most people lift the pencil after writing uppercase K, especially in names. You can connect it if your final stroke ends near the next letter’s starting point, but it’s not required.
What if my k looks messy or too wide?
The middle arm may be stretched too far. Try tightening the curve and slowing down. Practicing one part at a time helps you control the motion better.
Why does uppercase K feel harder than other capitals?
Because it has more parts. It’s built from two strokes that meet in the middle. Many learners improve by practicing each part on its own first, then putting them together.
One Comment