Cursive Alphabet: Letter J Worksheet and Practice Methods
Cursive J is a flowing form of the letter J used in joined handwriting. It follows a curved path, starting from the baseline and sweeping down, often looping below the line before curving back up. Both lowercase and uppercase J are designed to keep the writing smooth and connected.
Understanding how to write cursive J correctly helps build consistency and speed in full words. This guide covers everything you need to write cursive J from downloadable worksheets to connection techniques and simple practice ideas.
Download Free Printable Cursive J Worksheet
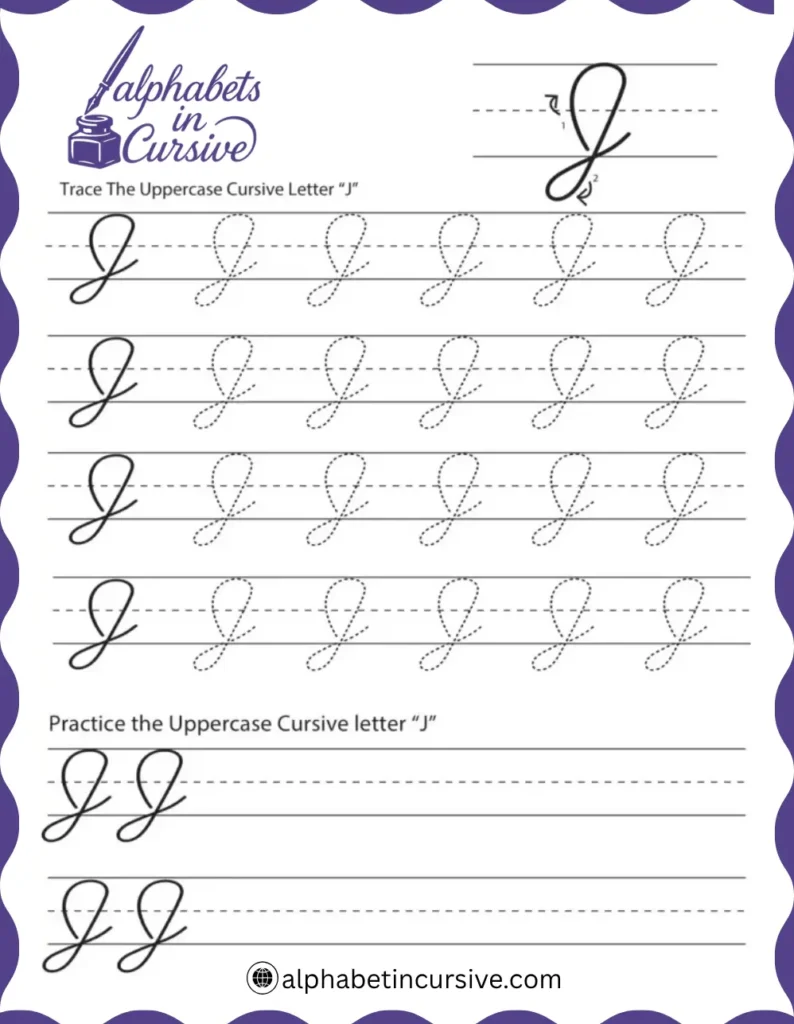
The Cursive J worksheet is free to download and easy to print. It includes lined guides to help you practice both lowercase and uppercase J with proper form. Each row offers traceable examples followed by blank spaces to try writing on your own.
How to Write the Cursive Letter J
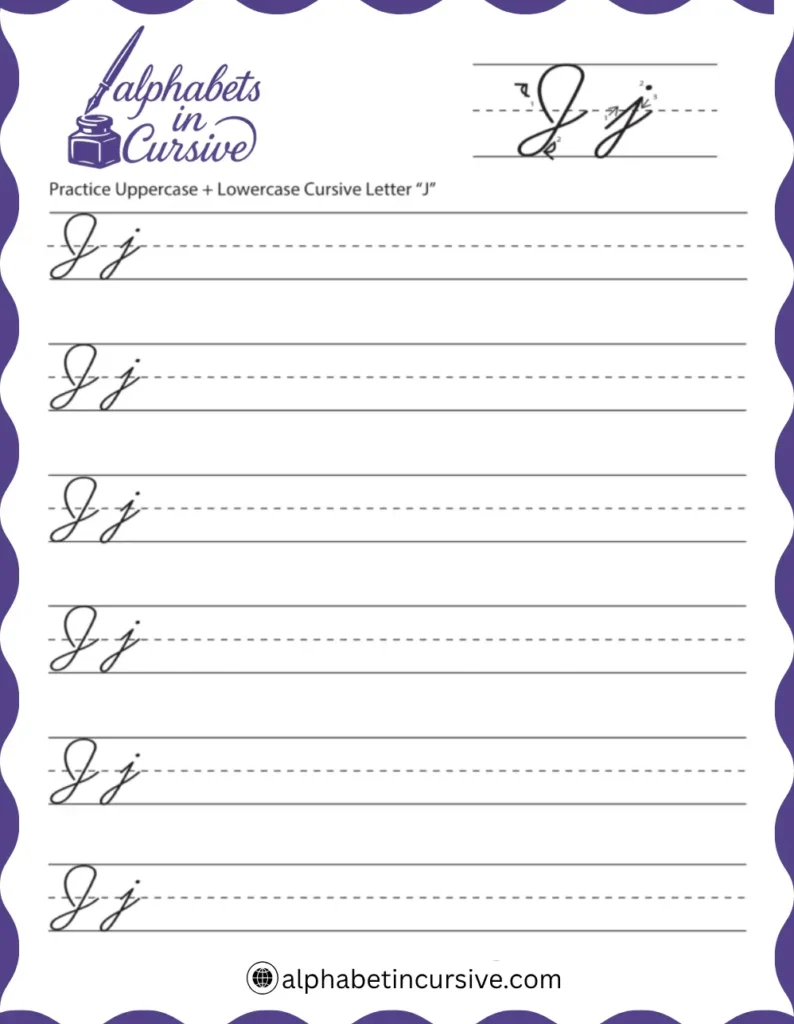
Writing the cursive J involves two parts: the lowercase and the uppercase. Both versions begin with a curved entry stroke, but the lowercase j drops below the baseline, while the uppercase J often includes a taller loop and wider curve.
Learning both forms helps with reading and writing fluency. Since J appears in many names and common words, writing it clearly supports better overall handwriting.
Let’s start by breaking down each form with easy steps.
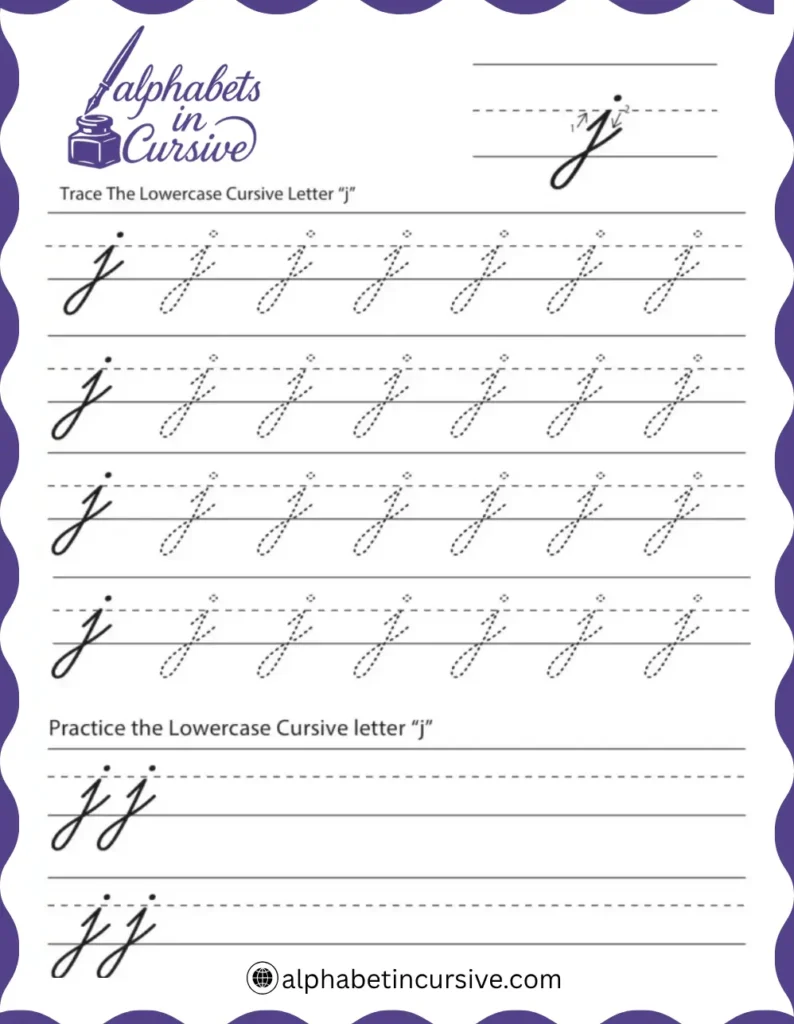
How to Write Lowercase Cursive J
The lowercase cursive j is a smooth, single-stroke letter that starts with a gentle curve and dips below the baseline. It finishes with a tail that helps connect it to the next letter. Like i, it ends with a dot but the letter form itself stretches lower.
Because of its descending shape, j helps learners practice control beyond the bottom writing line.

Steps to follow:
- Begin on the baseline with a short upward curve, just like starting the letter i.
- Loop slightly up, then curve down and make a straight stroke that drops below the line.
- Curve to the left at the bottom to create a small hook or tail.
- Lift your pen and place a small dot above the top of the letter, slightly to the right of the curve.
Make sure the downstroke stays narrow and the hook at the bottom is gentle, not sharp. Practicing slowly will help keep spacing and height consistent with other lowercase letters.
How to Write Uppercase Cursive J
The uppercase cursive J is longer, rounder, and begins above the midline. It uses a large curve that drops below the baseline and usually finishes with a rightward stroke to prepare for the next letter. Its loop and stroke must be balanced to keep the writing smooth and readable.
This letter is often used at the beginning of names and places, so it’s important that it stands out while still flowing into the rest of the word.
Steps to follow:
- Start slightly above the midline and curve leftward into a large loop.
- Bring the stroke down in a straight vertical line, dipping below the baseline.
- Curl the stroke back to the left and upward into a gentle hook.
- Finish with a thin exit stroke that curves to the right toward the next letter.
The shape should stay tall, and the bottom loop should not touch the line above. Practice slowly and keep your grip relaxed for a cleaner curve.
How to Connect Cursive J to Other Letters
Connecting the cursive J depends on whether you’re working with the lowercase or uppercase form. The lowercase j connects from the right tail, which rises slightly and joins the next letter without lifting your pen. The uppercase J, however, is often used at the beginning of a word and connects only to the letter that follows.
Let’s break down how each one connects in different writing situations.
How to Connect Lowercase Cursive J
Lowercase cursive j connects from the right, using a small tail that leads directly into the next letter. Because the main stroke drops below the baseline, the connection must rise back up smoothly to meet the following letter at the right height.
Maintaining a steady hand during the upward curve makes the transition look clean and prevents breaks in the word.
Connecting “j” to Different Letter Types
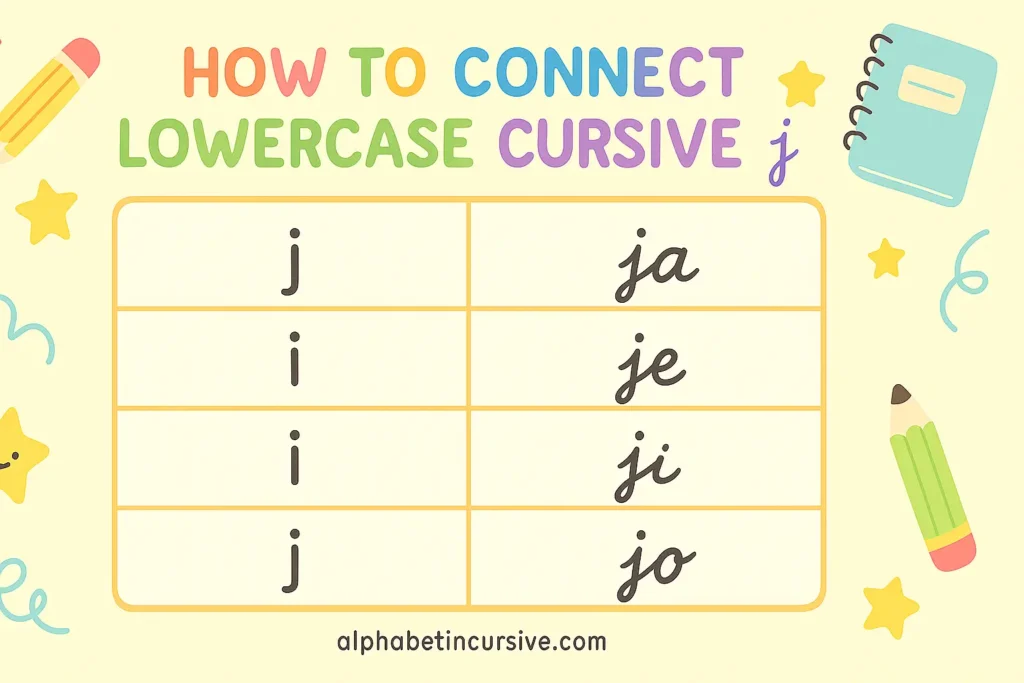
- To round letters like a, o, c: Bring the tail up gently and curve it into the left side of the next letter.
- To tall letters like l, t, h: Extend the tail slightly higher to reach the entry point at the midline.
- To short letters like u, n, e: Keep the tail low and move into the next stroke without lifting the pen.
Common Letter Pairs
- ja – Found in words like jam or jacket
- jo – Used in words like job or join
- je – Common in names like Jerry or words like jet
- ju – Appears in words like jump or just
These pairs help you get used to how j behaves in different word positions.
How to Connect Uppercase Cursive J
Uppercase cursive J usually appears at the beginning of a word or name. It doesn’t connect from the left, but it does lead smoothly into the next letter. The final stroke of the J curves to the right, creating a path for connection.
The key is to keep that final curve low and steady so it can meet a wide range of letter styles without breaking the flow.
Connecting “J” to Different Letter Types
- To round letters like o, a, e: Let the tail swing gently into the rounded base of the next letter.
- To tall letters like l, h, t: Extend the tail slightly higher before transitioning into the upward loop.
- To short letters like u, n, i: Keep the ending stroke low and curve directly into the first stroke of the next letter.
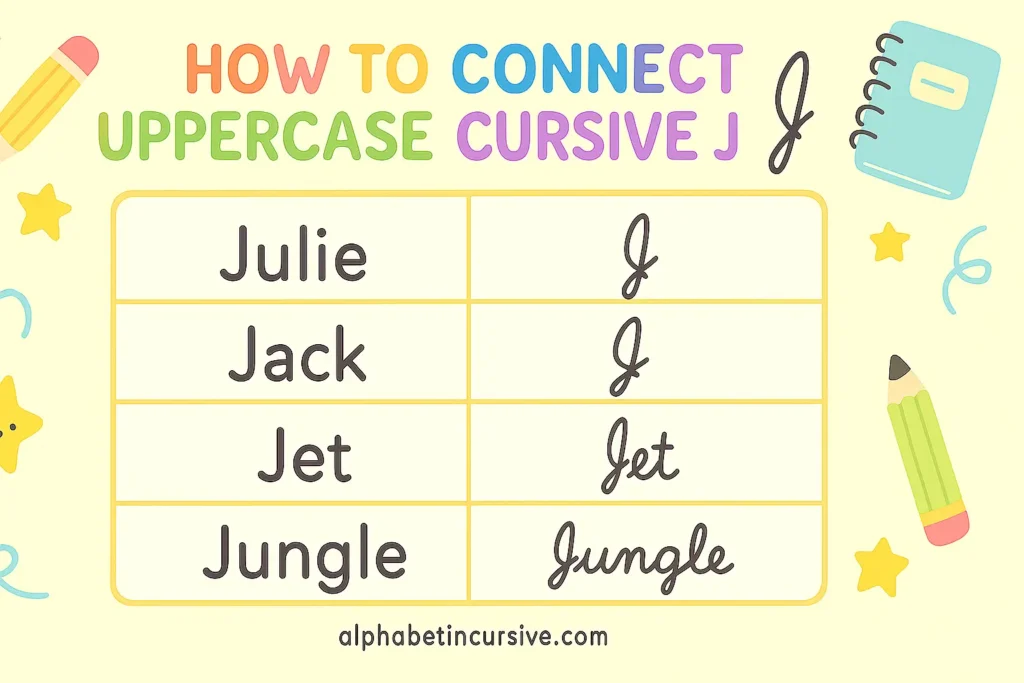
Example Words and Names
- Jack – Combines tall and short letters for a good connection test
- Julie – Shows how to move from uppercase J into soft curves
- Jet – Simple and quick, useful for spacing control
- Jungle – A longer word that mixes curved and straight strokes
Practicing these helps develop rhythm and muscle memory for smoother writing.
Practice Methods for Writing Cursive J
Learning to write cursive J takes steady practice, especially because the letter includes both a descending loop and connection strokes. The more you repeat the motions, the more natural they become.
The goal is to train your hand to follow the curves and maintain even spacing across different writing styles.
Here are useful ways to practice:
- Start with tracing: Use printable worksheets to follow the shape of both uppercase and lowercase J.
- Write on lined paper: This helps control height and keeps loops within proper limits.
- Practice common words: Use words like jam, job, Jet, or Julie to work on letter transitions.
- Write short sentences: Try simple ones like “Jack is just in” to improve speed and flow.
- Check your spacing: Look for balance between the drop of the lowercase j and the rise of the next letter.
Even five minutes a day makes a difference. Keep strokes light and hands relaxed for the best results.
Frequently Asked Questions
Is cursive J hard to connect to other letters?
It can be tricky at first because lowercase j drops below the line. With practice, the upward tail becomes easier to link with both round and tall letters.
At what age should kids start learning cursive J?
Most children can start around age 7 or once they’ve mastered basic print writing and pencil control. Cursive j introduces new stroke directions, which helps build fine motor skills.
Do uppercase cursive J styles vary?
Yes. Some are more rounded while others are simple and straight. Styles may depend on the handwriting method being used, such as D’Nealian or Zaner-Bloser.
2 Comments