Cursive Alphabet: Letter O Worksheet and Practice Methods
The cursive letter O is round, smooth, and flows in one clean stroke. It teaches full-circle motion and helps with hand control. Lowercase cursive o is used often in writing, and mastering it builds confidence with other curved letters. Uppercase O is larger but follows a similar shape.
If you’re learning or teaching cursive, starting with the right form and daily practice is key. This article includes a printable worksheet, clear writing instructions, and practical tips to improve your cursive O quickly.
Let’s begin with the worksheet made to support early practice.
Download Free Printable Cursive O Worksheet
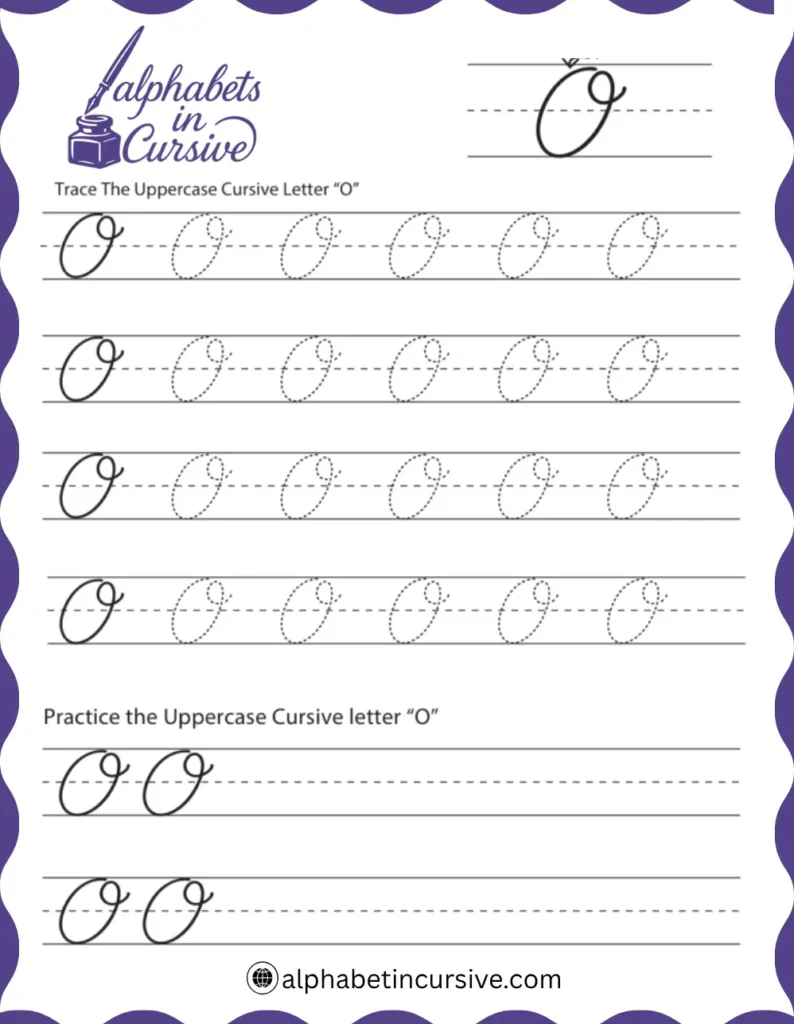
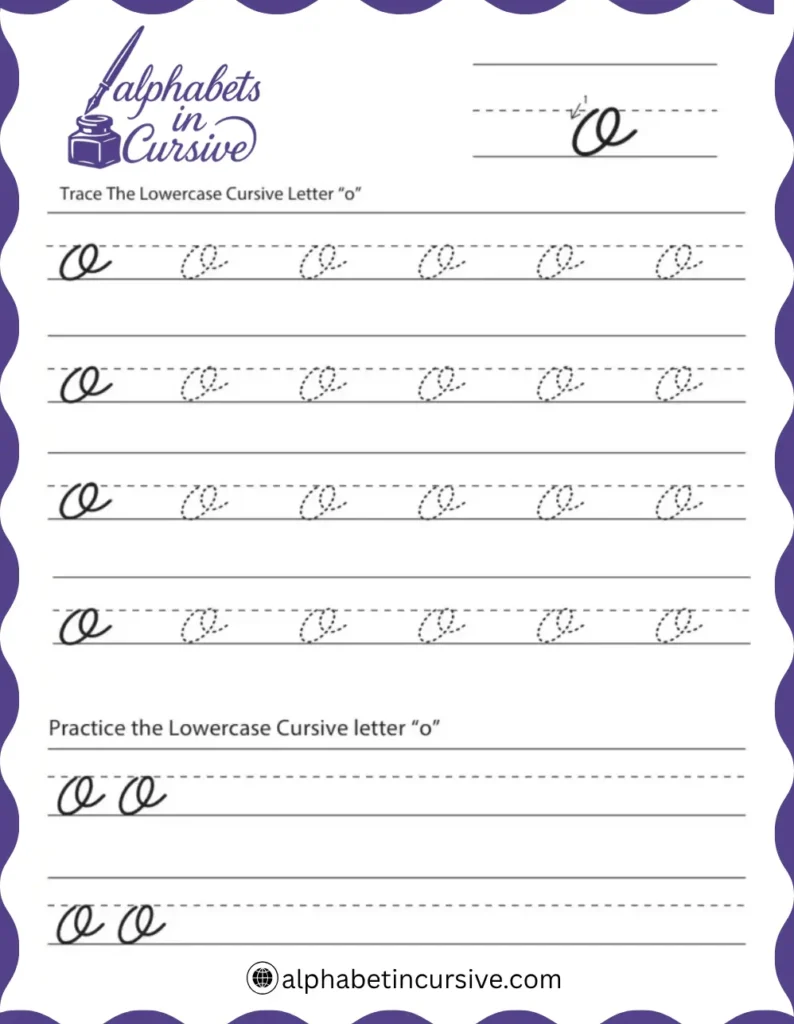
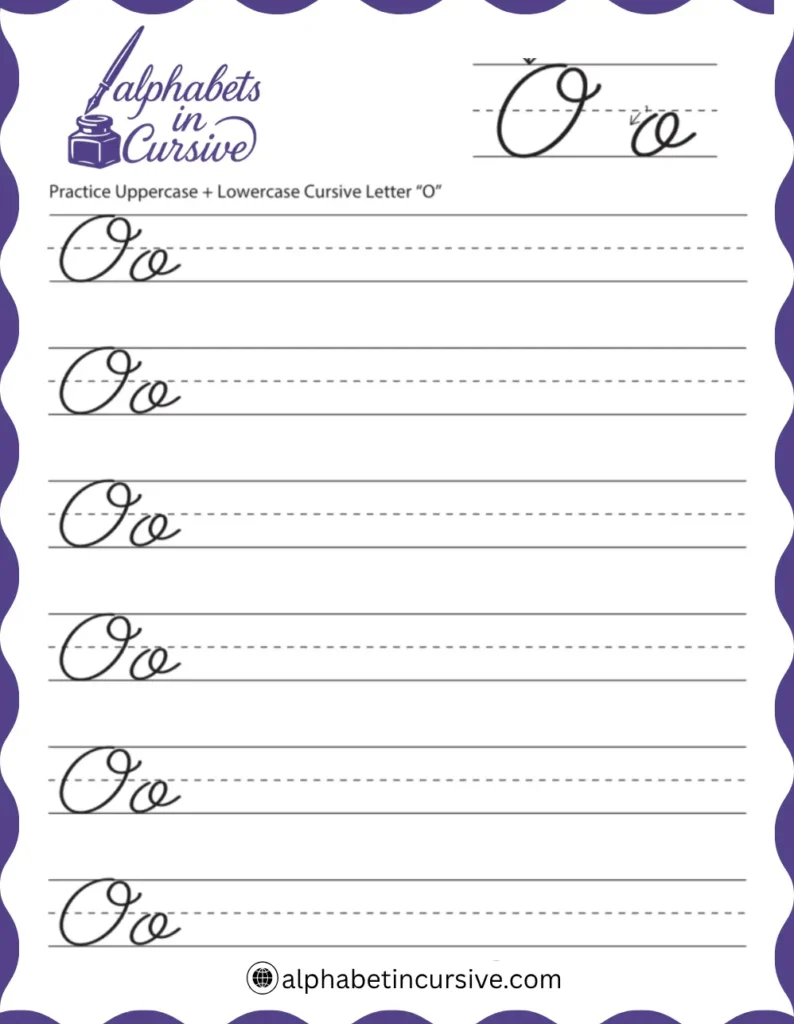
The printable cursive worksheets gives learners a clear way to practice both the lowercase and uppercase forms. It starts with guided examples that show exactly where each stroke begins and ends. Arrows help with direction, and dotted letters make tracing easier.
How to Write the Cursive Letter O
The cursive letter O teaches smooth, circular motion and helps build control for other rounded letters like a and e. Both lowercase and uppercase forms use a single, flowing stroke without lifting the pencil. Learning to write O the right way improves spacing, rhythm, and overall neatness in handwriting.
How to Write Lowercase Cursive O
Lowercase cursive o begins just below the midline and forms a full oval with a clean exit stroke. It’s one of the most used letters in cursive writing, and it connects easily to many others.
Step-by-step instructions:
- Start just below the midline
- Curve up to the midline, then swing left
- Continue down and around to cross the baseline
- Complete the oval by closing the loop at the starting point
- Finish with a short tail that curves right and rests on the baseline
Key points:
- The loop should be rounded, not pointed
- Don’t pause or lift the pencil — keep it smooth
- Keep both sides of the letter equal in width
- The exit stroke should match the baseline for easy connection
Write rows of o o o and then try short words like on, owl, no, go. Focus on size and shape before moving on to longer words.
How to Write Uppercase Cursive O
Uppercase O in cursive is larger and starts from the baseline. It follows a full loop, similar to a large zero, but with more style and flow.
Step-by-step instructions:
- Begin on the baseline
- Curve up to the left and reach the top line
- Loop around to the right and curve down
- Finish by circling back to the left
- End at or near the top line, sometimes with a slight rightward curve
Key points:
- The letter should be wide and even
- Use a full loop — not an oval with a flat side
- Keep the entry and exit strokes smooth
- The top and bottom of the loop should align with the guidelines
Use names like Olivia, Owen, Oscar, Opal for repetition. Write slowly and focus on keeping your strokes clean and rounded.
How to Connect Cursive O to Other Letters
Alphabet in Cursive has explained how to connect the cursive letter ‘o’ with other letters, along with examples and step-by-step guidance. Here you go:
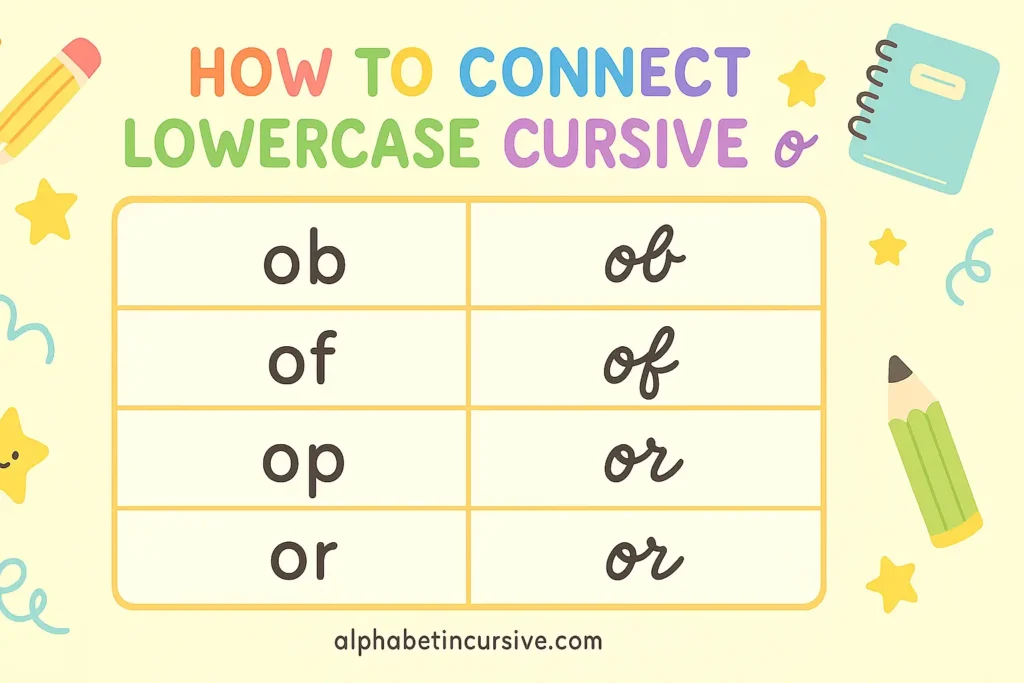
How to Connect Lowercase Cursive O
Lowercase o ends on the baseline with a soft curve to the right. This exit stroke is built to connect without lifting your pencil.
- To vowels (a, e, i, u):
Move straight into the next curve. Example pairs: oa, oe, oi, ou. Keep both letters close and avoid gaps. - To tall letters (l, t, h, k):
Curve upward from the end of o into the next stroke. Practice: ol, ot, oh, ok. Keep the curve smooth and even. - To looped letters (b, f):
Raise the ending stroke slightly to meet the loop at the right height. Example: ob, of. Avoid sharp turns. - To round letters (c, a, d):
Follow through with one motion. Write oc, oa, od slowly to keep spacing clean.
Practice rows:
- oa, oe, ol, ob, of, ot
- on, op, or, om
- oil, owl, off, old, open
How to Connect Uppercase Cursive O
Uppercase O is large and round. In most writing styles, it does not connect to the next letter.
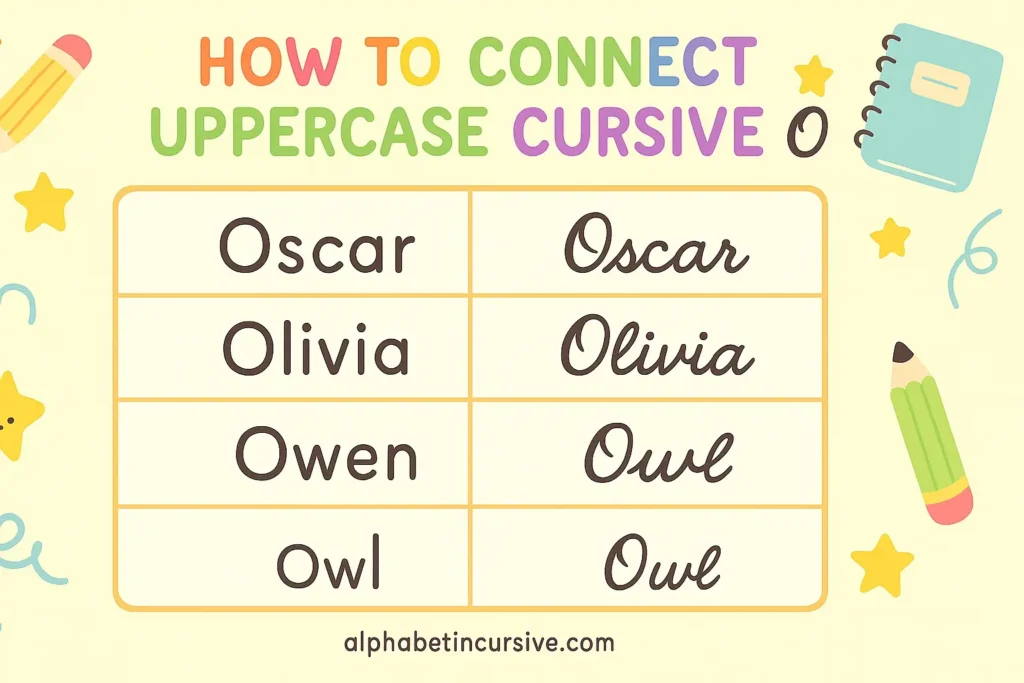
- Finish writing O, then lift the pencil before starting the next letter
- Common in names: Oscar, Olivia, Owen
Some styles allow a small connecting tail. If used, it should curve slightly down and right to reach the next letter — best with l, n, or v.
Practice both styles:
- Write names like Olivia with and without a connecting stroke
- Choose the style that looks cleaner and keeps your writing readable
Practice Methods for Writing Cursive O
- Use worksheets that show stroke direction. Trace lowercase and uppercase O slowly and evenly.
- Write over dotted letters without arrows. Focus on keeping the circle closed and smooth.
- Write full lines of o o o and O O O. Then write short words: on, owl, open, Olivia.
- Leave space between sets. Compare if the loops stay the same size and shape.
Frequently Asked Questions
How do I write a lowercase cursive o?
Start just below the midline, curve up and around in a full loop, and end with a small rightward tail that sits on the baseline.
Why is my cursive o not closing fully?
This usually happens if you move too fast or lift the pencil early. Slow down and follow the stroke all the way around to meet the start point.
Does uppercase cursive O connect to other letters?
Not always. In most styles, uppercase O stands alone, especially in names. Some allow a small curve to link to the next letter, but lifting is more common.