Cursive Alphabet: Letter P Worksheet and Practice Methods
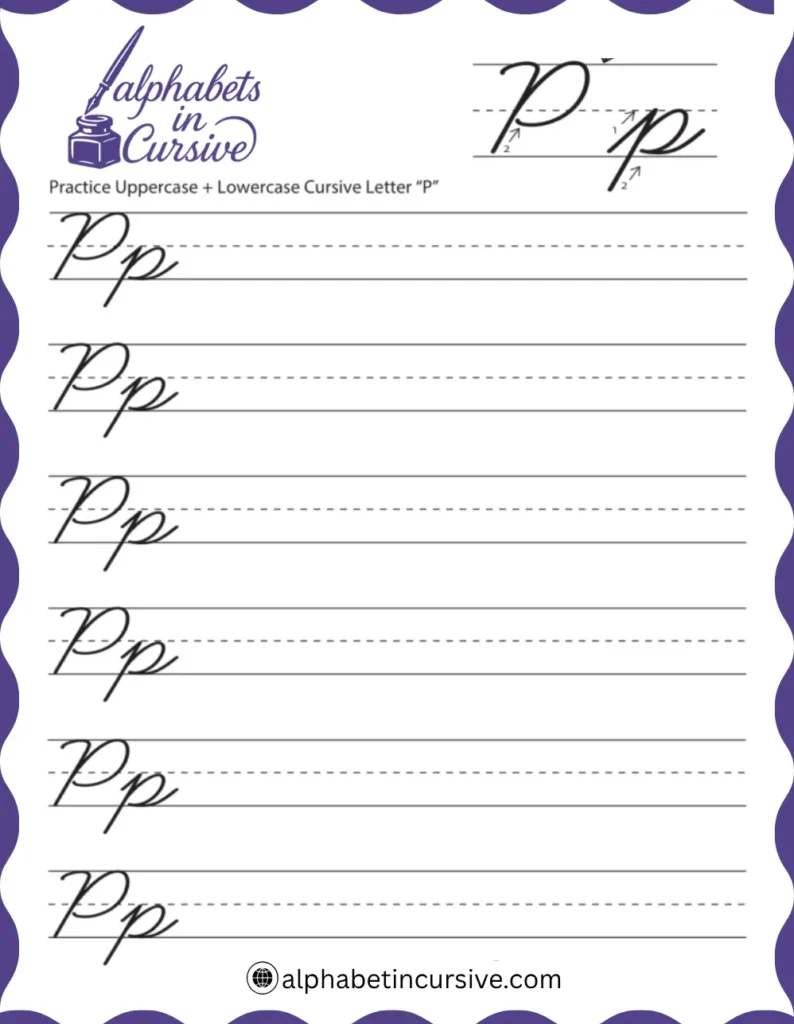
The cursive letter P is a tall letter with a rounded loop on the right. It starts at the top and uses one continuous stroke. Lowercase p goes below the baseline, while uppercase P stands above it. Learning both forms helps with flow, control, and spacing in writing.
This guide explains how to write cursive P clearly, how it connects to other letters, and how to practice it the right way. You’ll also get a printable worksheet with step-by-step help for beginners.
Let’s begin with the worksheet you can use for daily practice.
Download Free Printable Cursive P Worksheet
We’ve prepared a free printable worksheet to help you practice writing the cursive letter P the right way. You can print it out and use it at home or in class. Just download, print and start tracing.
How to Write the Cursive Letter P
Writing cursive P takes practice, but once you learn the movement, it becomes smooth and easy to repeat. Lowercase p dips below the line with a tall stem and loop.
Uppercase P is wider and more upright, often used in names or titles. Both follow clear stroke paths that help train the hand for other tall or looped letters.
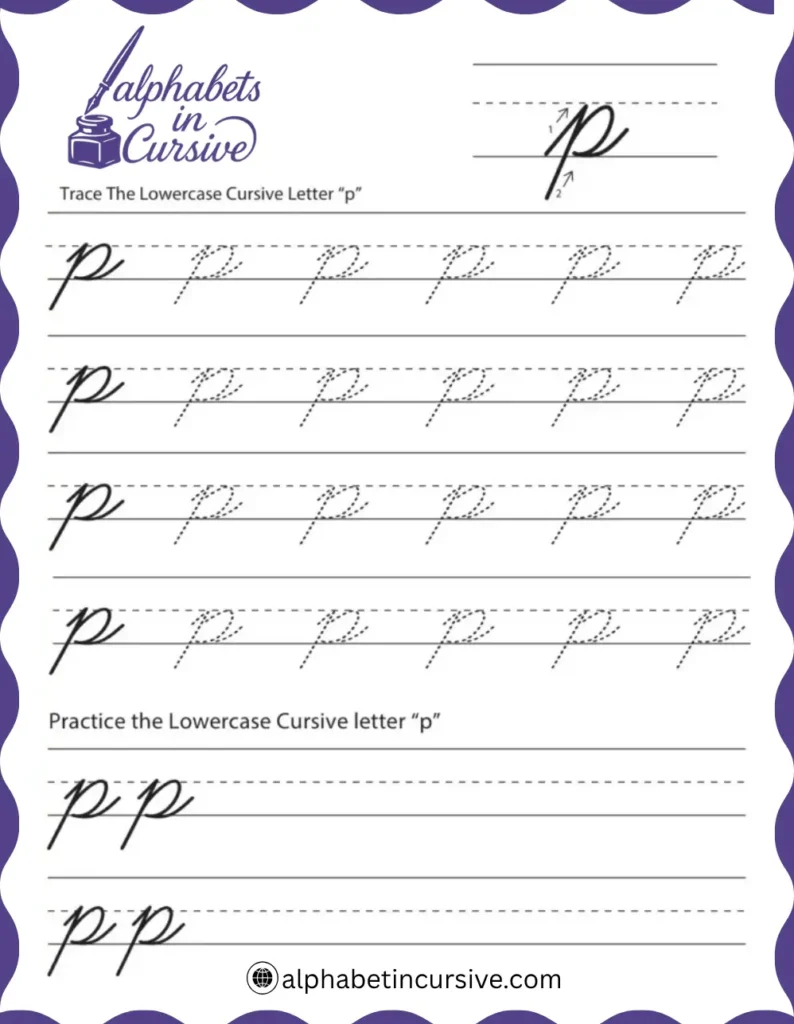
How to Write Lowercase Cursive P
Lowercase p starts at the midline, just like letters a and c, but drops below the baseline. It has a downstroke, a loop, and a closing curve — all in one motion.
Steps:
- Begin at the midline
- Pull a straight stroke down through the baseline
- Curve back up to the midline to form a loop
- Without lifting your pencil, make a small round shape on the right
- End with a short exit stroke on the baseline to connect with the next letter
Key tips:
- Keep the stem straight
- The loop should be narrow, not wide
- Make sure the circle does not touch the baseline
- The final curve should flow into the next letter without lifting
Start with single letters like p p p p. Then write short words: pen, pop, cup, map, nap. Watch how the exit stroke helps with connections.
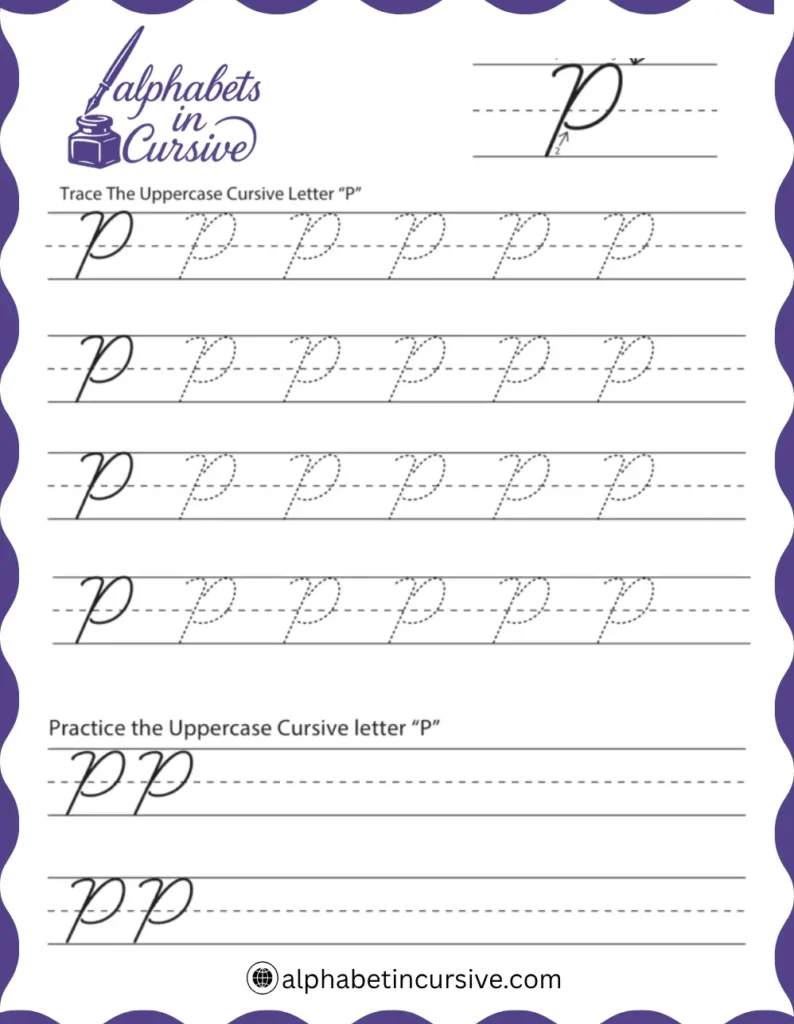
How to Write Uppercase Cursive P
Uppercase P is one of the taller letters in cursive. It begins at the top line and has a curved stroke on the right. The loop does not go below the line and usually stands alone.
Steps:
- Begin at the top line
- Draw a straight vertical line down to the baseline
- Return to the top and form a round curve to the right
- Curve down and back toward the middle of the vertical line
- End by closing the loop at or near the midline
What to focus on:
- The loop should be open and rounded
- Keep the downstroke straight
- The rounded part should not fall below the midline
- If you plan to connect, end with a slight right curve
How to Connect Cursive P to Other Letters
Cursive p can be tricky to connect because its shape goes below the line. Lowercase p connects from the exit stroke, while uppercase P usually stands alone. Knowing when to connect and when not to helps keep your writing clean and readable.
How to Connect Lowercase Cursive P
The lowercase p ends with a short exit stroke that rests on the baseline and leads into the next letter. Since the loop goes below the line, careful spacing keeps your letters from overlapping.
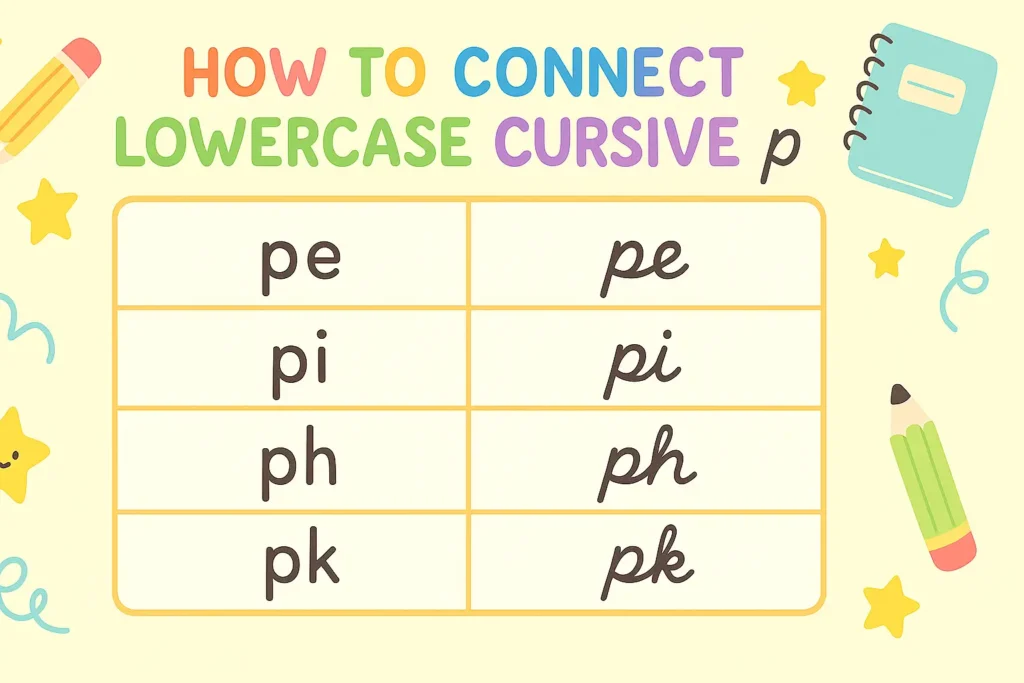
- Connecting to vowels (a, e, i, o):
Move directly from the exit of p into the start of the vowel. Don’t lift your pencil.
Examples: pa, pe, pi, po - Connecting to tall letters (l, t, h, k):
After writing p, swing slightly upward to reach the tall letter’s starting point.
Examples: pl, pt, ph, pk - Connecting to round letters (c, d, u):
Use the exit stroke of p to curve into the rounded shape smoothly.
Examples: pc, pd, pu
How to Connect Uppercase Cursive P
Uppercase P is rarely connected. Most of the time, it starts a word or a name and stands alone.
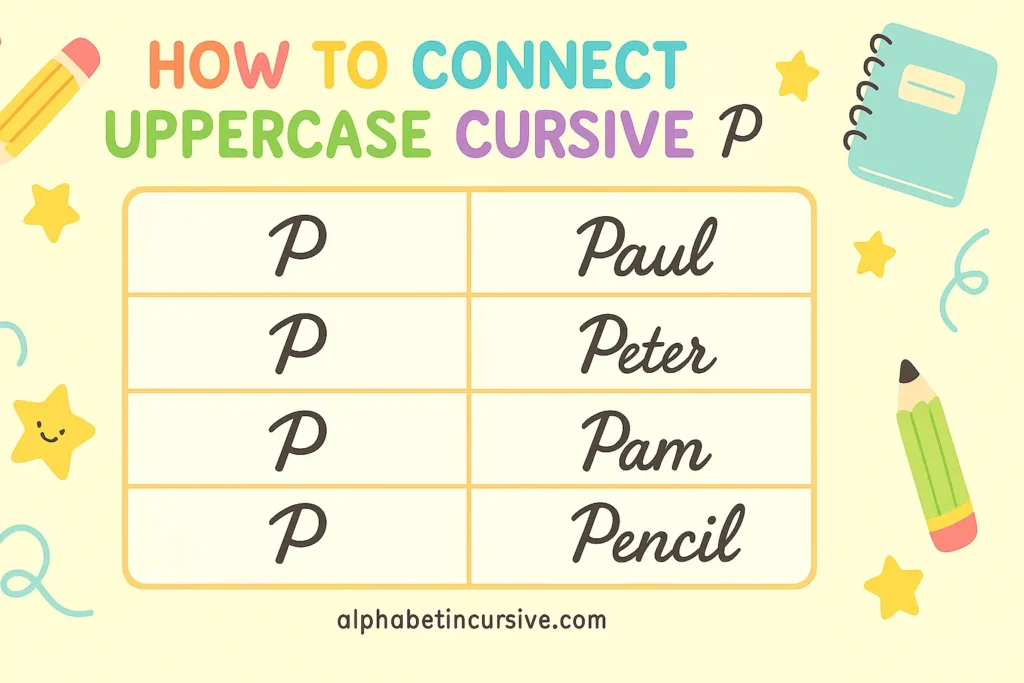
- After writing the P, lift your pencil
- Begin the next letter slightly to the right of the loop
- Examples: Paul, Peter, Pam
If you do connect, use a small right curve at the end of P. This only works well with letters like a, e, or i and should be used only if it doesn’t distort the form.
Practice Methods for Writing Cursive P
Here are some practice methods for cursive letter p you must follow and start practicing:
- Trace with arrows: Start with guided tracing pages that show stroke direction for both uppercase and lowercase P.
- Use dotted letters: Move to dotted outlines to build memory. Try repeating rows of p p p and P P P.
- Write on lined paper: Focus on size and placement. Lowercase p goes below the line, uppercase stays above.
- Practice letter pairs: Combine p with other letters: pa, pe, pi, pl, pr. This builds connection control.
- Write real words: Try simple words like pen, pop, part, paper, Peter. Repeat each word slowly.
- Spot and fix mistakes: Check if the loop is too wide, if the letter tilts too far, or if spacing is uneven.
- Use short sessions: Write for 5–10 minutes daily. Stop if your hand feels tense and start again fresh.
Frequently Asked Questions
How do I form a lowercase cursive p?
Start at the midline, pull a straight stroke below the baseline, loop back up, then curve right to finish the letter with a small exit stroke.
Why does my cursive p look like a g or q?
It’s likely the downstroke isn’t straight enough or the loop curves back too far. Keep the downstroke vertical, and make the loop rise back up to the midline before curving right.
Is cursive p hard for beginners?
Many beginners struggle with the loop. It takes practice to control the size and shape. Using lined paper and tracing guides helps build confidence.