Cursive Alphabet: Letter Q Worksheet and Practice Methods
Cursive Q can feel a bit odd at first. It doesn’t look like the printed Q most people are used to. The uppercase version looks more like a number 2, and the lowercase one has a tail that loops below the line. But once you learn the strokes, it becomes easier to write and recognize.
This guide breaks down how to write both forms of Q, shows you how to connect them to other letters, and includes a printable worksheet you can use to practice. Everything is made simple, clear, and easy to follow.
Let’s begin with the worksheet.
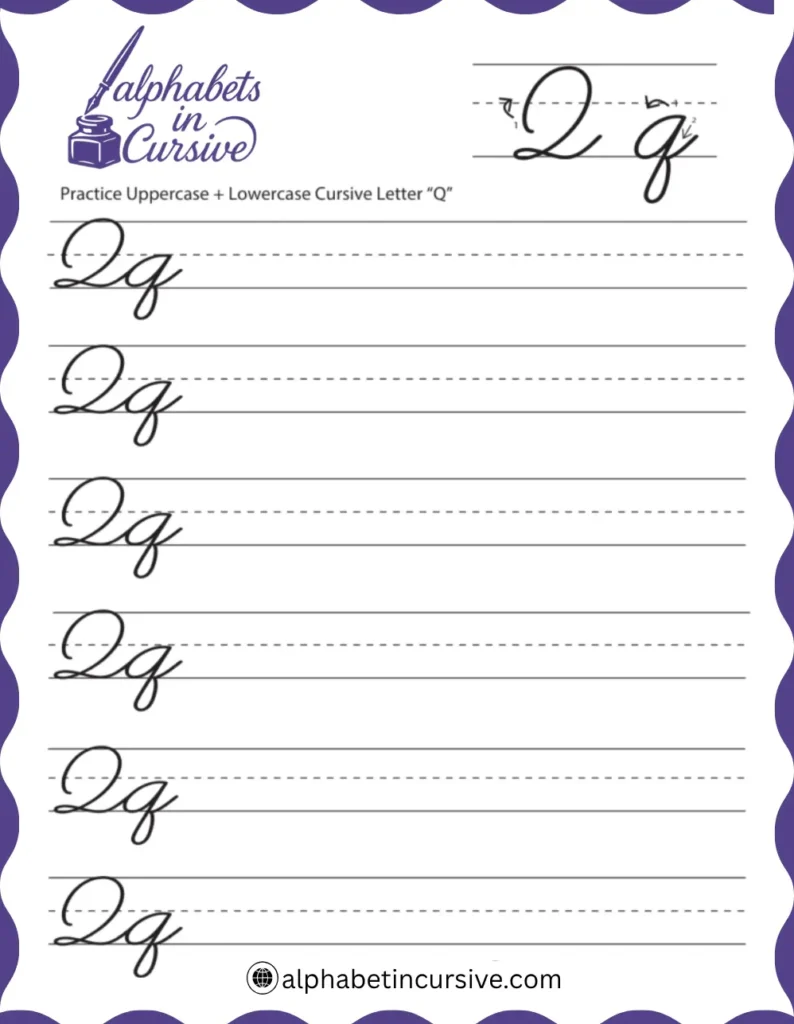
Download Free Printable Cursive Q Worksheet
We’ve prepared a free printable worksheet to help you practice writing the cursive letter Q the right way. You can print it out and use it at home or in class. Just download, print and start tracing.
How to Write the Cursive Letter Q
Cursive Q is shaped very differently from what most learners expect. Instead of a round letter with a tail, the uppercase form looks like a looped number 2. The lowercase q has a loop that dips below the line, almost like a cursive g, but with a different exit stroke.
Learning both forms takes practice, but once the stroke pattern is clear, the shape becomes easier to repeat.
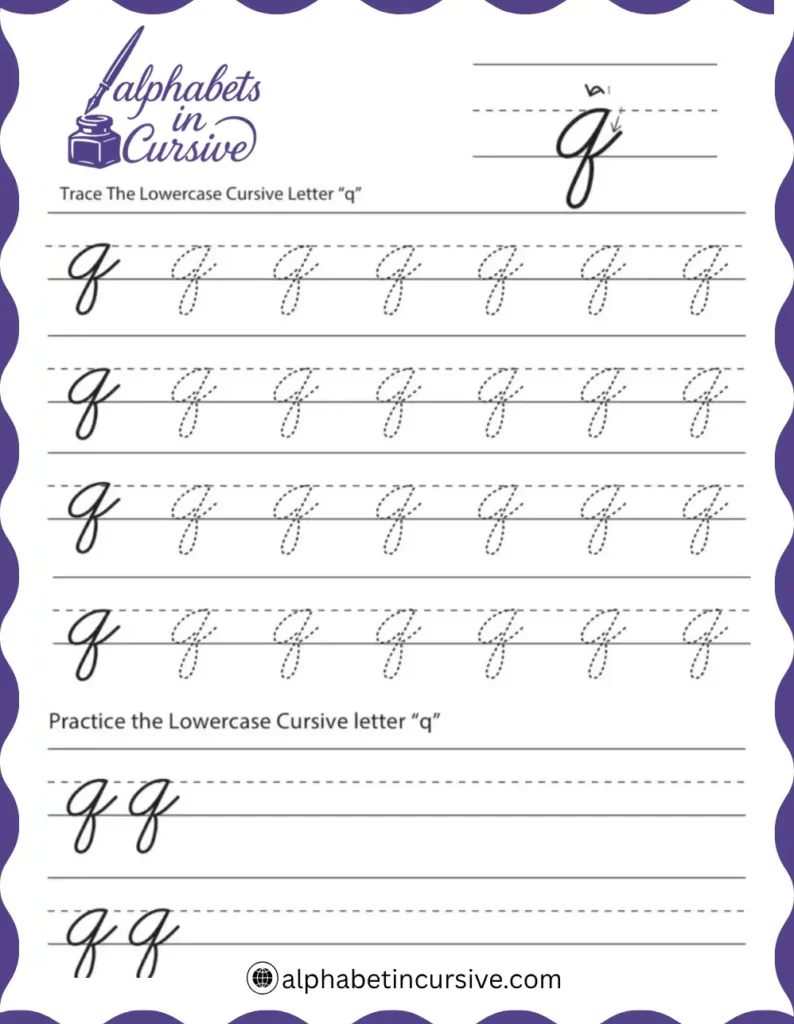
How to Write Lowercase Cursive Q
Lowercase cursive q starts with a soft curve at the midline, drops into a loop below the baseline, then ends with a small hook. It’s similar in flow to the cursive g, but the tail moves differently.
Steps to follow:
- Start at the midline
- Curve up and to the right, then loop back left to form a shape like a cursive o
- From the midline, pull a straight stroke downward past the baseline
- Curve the tail right, forming a loop or hook just below the line
- End with a small upward stroke that leads into the next letter
Helpful tip:
Think of the lowercase q as a combination of the letter o and a fishhook. Keep the motion steady so the loop doesn’t cross itself or drag too low.
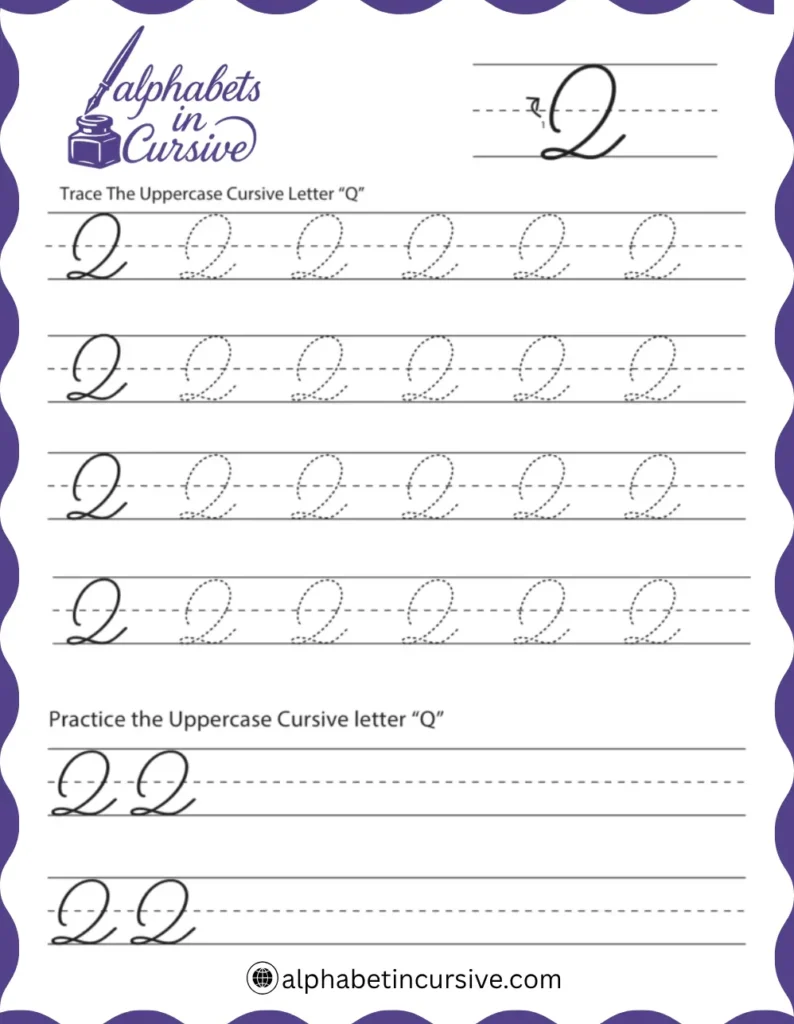
How to Write Uppercase Cursive Q
Uppercase cursive Q has a looping, open shape that looks more like the number 2 than its printed form. It begins high and flows into a rounded curve before finishing with a soft stroke.
Steps to follow:
- Start just below the midline
- Form a large oval by moving the stroke down, around to the left, and back up to the top line (like a cursive O)
- As you reach the top, add a small loop that curves right and slightly upward
- Pull the stroke downward, crossing the oval
- Finish with a small rightward hook that ends at the baseline
Helpful tip:
Imagine writing a large number 2 with a bit more curl. Focus on making the shape smooth and balanced not too wide, not too sharp.
How to Connect Cursive Q to Other Letters
Cursive q can be tricky to connect because its shape goes below the line. Knowing when to connect and when not to helps keep your writing clean and readable.
How to Connect Lowercase Cursive Q
Lowercase q ends with a small hook that sits on the baseline. This hook helps the letter flow into the next one without lifting your pencil.
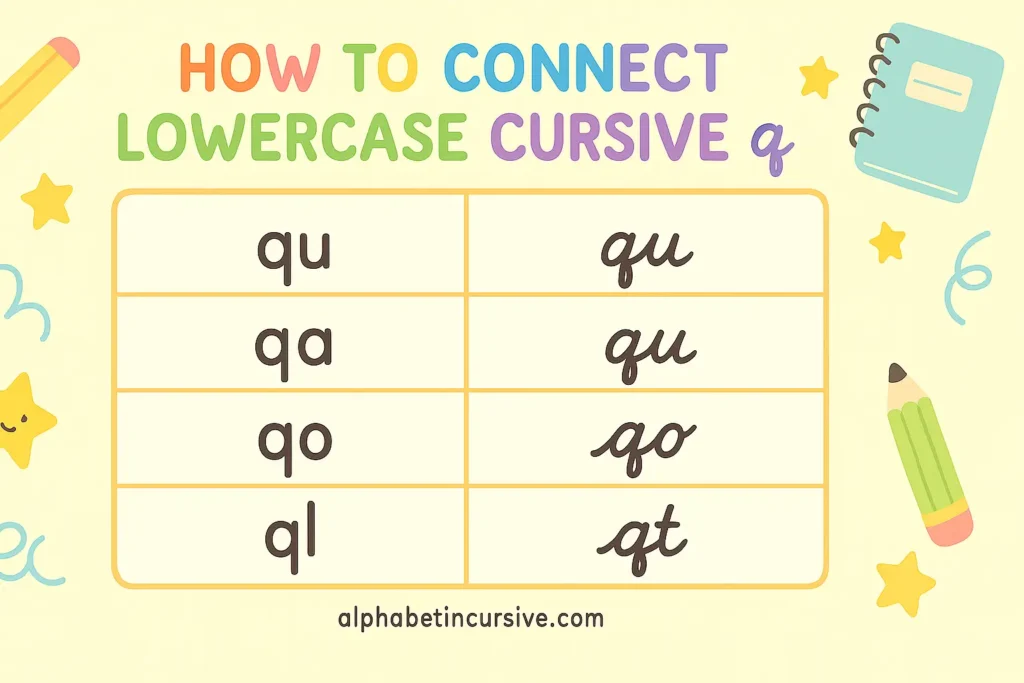
How it connects:
- The exit stroke curves right and stays on the line
- This connects smoothly to rounded letters like u, a, o
- For taller letters like l or t, lift slightly and curve upward
Practice pairs: qu, qa, qo, ql, qt
How to Connect Uppercase Cursive Q
Uppercase Q is usually not connected to the next letter. It often appears at the beginning of names or words and stands on its own.
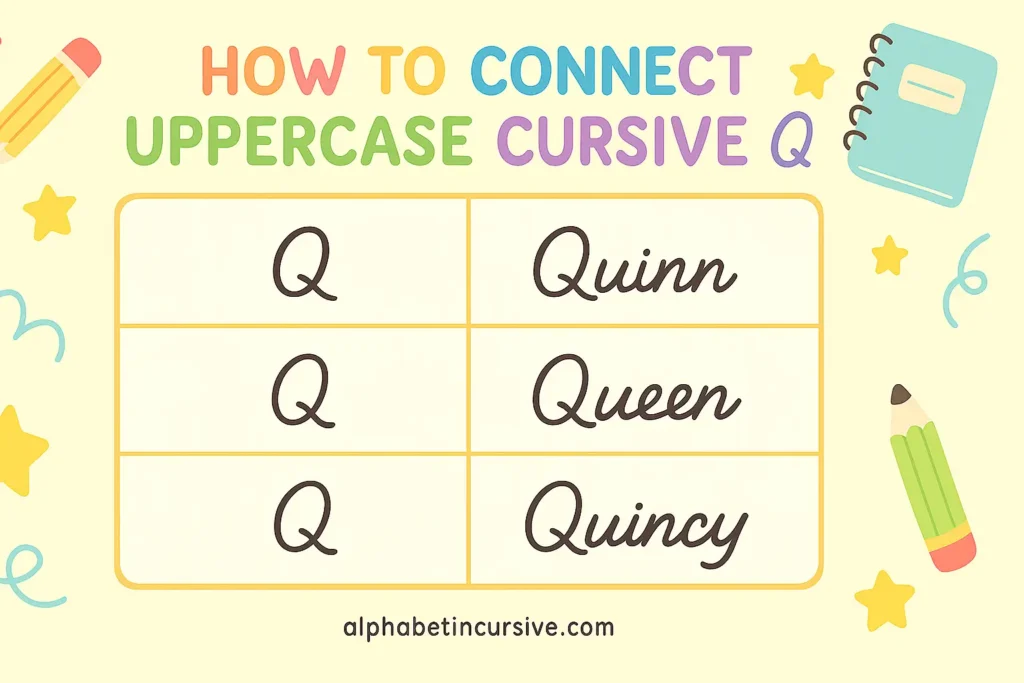
If connecting:
- End the loop with a slight curve to the right
- Start the next letter close to the end of the Q, but don’t force a join
- This works best with vowels like u or a in names
Practice names: Quinn, Queen, Quincy
Helpful tip:
You can try both connected and unconnected versions, then pick the one that feels smoother and looks cleaner in your own writing style.
Practice Methods for Writing Cursive Q
Here are some practice methods for joining cursive letter q you must follow and start practicing:
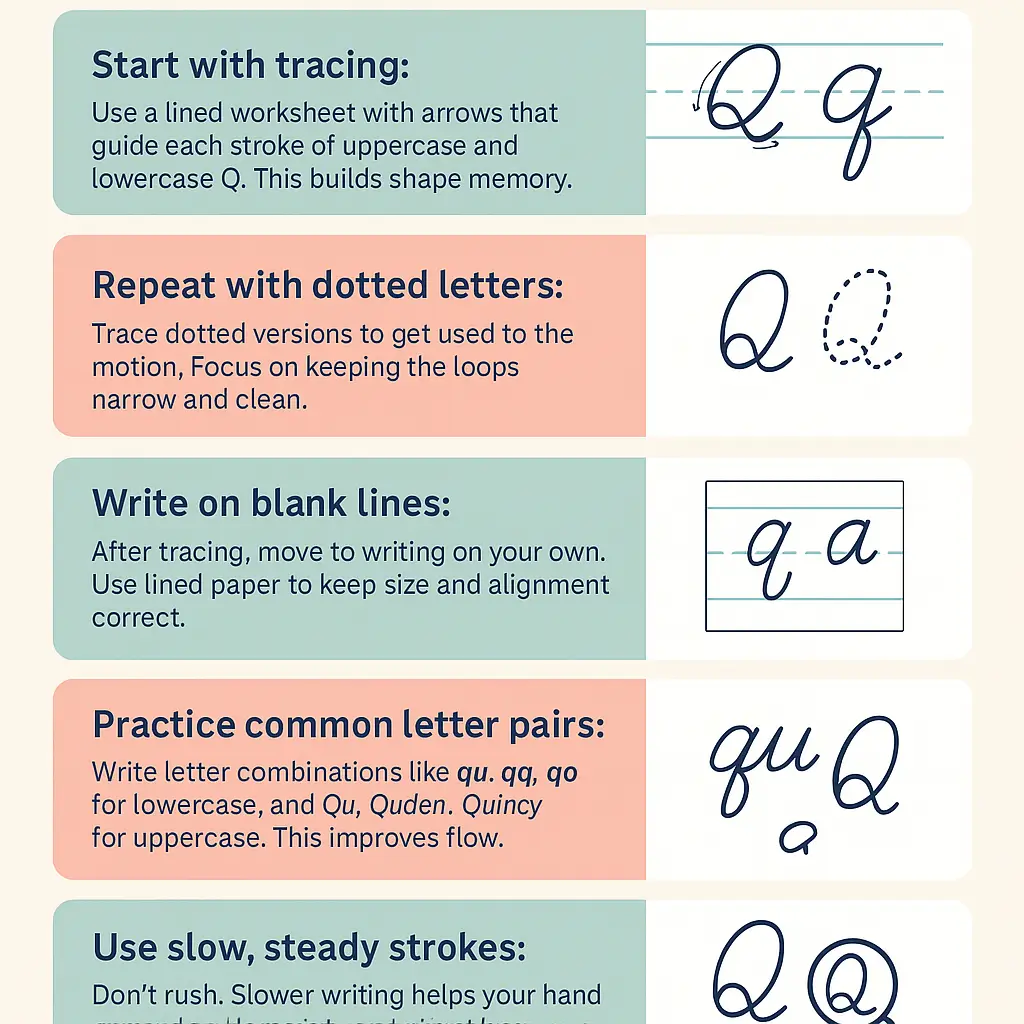
Check for mistakes:
Look at loop size, slant, and spacing. If letters look uneven, pause and correct them before repeating.
Frequently Asked Questions
Why does uppercase cursive Q look like a 2?
That’s just the traditional cursive style. It’s meant to flow smoothly with the rest of the alphabet. While it may feel odd at first, it becomes easier with practice.
What’s the difference between cursive q and cursive g?
They both have loops that dip below the line, but the exit stroke on q curves right to connect, while g ends in a loop or tail that curves differently.
How can I stop my cursive q from leaning too far?
Practice slower strokes on lined paper. Keep your wrist steady and focus on vertical downstrokes. Consistency will improve with time.